A used pickup can look tidy above the rocker panels while hiding the clues that decide whether it is ready for work. A careful inspection is not a substitute for a mechanic, but it can tell you whether the truck deserves that next step. The useful goal is a written comparison of identity, structure, load information and road behavior—not a quick search for one dramatic flaw.
Begin with the 17-character VIN at the windshield and door label, then enter it in the NHTSA recall lookup. The agency explains that a VIN search can identify certain unrepaired safety recalls, while also noting limits such as recently announced campaigns and older recalls. Save the result with the date; do not treat a zero-result screen as a complete service history.
Start with identity, labels and a cold walkaround
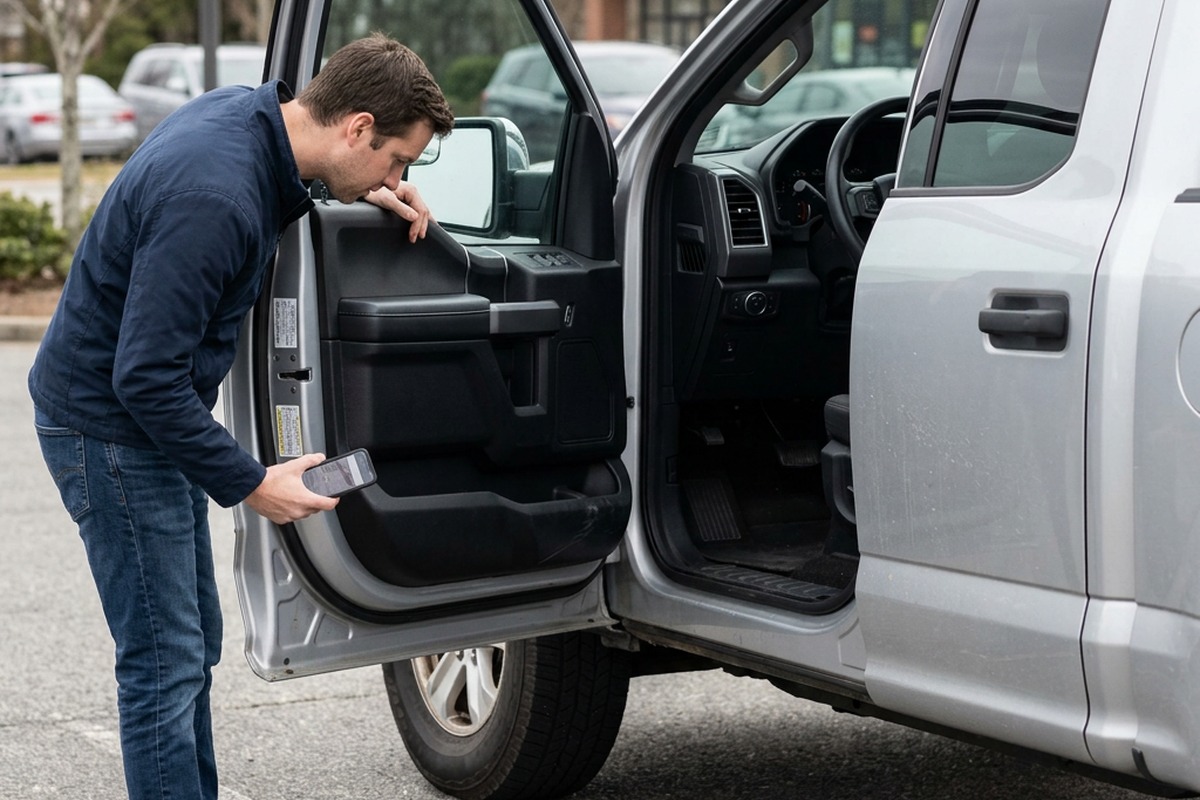
Photograph the VIN, odometer, tire-and-loading label and any certification label before the engine is started. Make sure the VIN characters agree across the truck and the paperwork. For a light-duty pickup bought from a dealer, the FTC’s used-car guidance says the vehicle should have a Buyers Guide that explains whether it is sold with a warranty or “as is”; the FTC also recommends an independent inspection. Keep that document separate from verbal promises.
Walk around the truck on level ground while the tires are still cold. Record tire size at all four corners, uneven shoulder wear, missing lug hardware, obvious fluid spots and whether the body sits level. Look through the wheel openings with a flashlight, but do not crawl beneath a vehicle that is supported only by a jack. A lift inspection by a qualified shop is the right place to confirm anything you cannot see safely.
Fresh paint or undercoating is not automatically a defect. It is a reason to ask what work was done and to compare the coated area with the opposite side. Likewise, an aftermarket bumper, hitch, step or bed accessory is not proof of abuse. Record it because added equipment changes what should be checked later: mounting holes, wiring, corrosion around fasteners and the truck’s remaining carrying capacity.
Read the frame and body mounts as one continuous structure
Follow each frame rail from the front suspension area toward the rear, using the same viewing angle on both sides. Note abrupt changes in surface texture, crushed edges, ripples, distorted holes or welds that look different from nearby factory seams. Then compare crossmembers, cab mounts and bed mounts left to right. The point is not to diagnose a repair in the parking lot; it is to identify an asymmetry that deserves a lift inspection and an explanation.
Pay special attention where dirt and moisture can collect: the lower lip of boxed sections, brackets around body mounts, spring hangers, spare-tire supports and the area behind plastic liners. Surface discoloration and structural loss are not the same thing, so avoid declaring either from a photograph alone. Pressing, grinding or scraping a seller’s truck is inappropriate. Use light, sight and a camera, then let a professional decide whether thickness or strength needs testing.
Check that doors open and latch without needing to lift or slam them, and compare panel gaps around the cab and bed. A single uneven gap can come from adjustment; several changes aligned with a frame or mount anomaly are more useful evidence. Photograph the complete pattern rather than one close-up. That context helps an independent mechanic understand what prompted the concern.
Match tires and installed gear to the truck’s own label
The NHTSA TireWise guidance directs drivers to the manufacturer’s Tire and Loading Information Label on the driver-side door edge or post for the specified tire size and cold pressure. Compare that label with every installed tire. Record the full size, load designation and visible condition instead of assuming that matching tread patterns mean the specifications match.
Next, list equipment that may have been added since the truck left the factory: toolboxes, bed caps, winches, auxiliary tanks, heavy bumpers, running boards or a fifth-wheel hitch. Do not guess a payload number from the model badge or an online maximum. The door label belongs to this truck, and installed accessories consume part of the carrying capacity available for occupants and cargo. If a label is missing or unreadable, pause the decision until the specification can be verified through the manufacturer or a qualified dealer.
| Evidence to capture | What to write down | Why it matters next |
|---|---|---|
| VIN and recall screen | VIN, date and result | Creates a traceable identity and follow-up item |
| Frame and mounts | Location, left/right comparison and photo | Directs the lift inspection to a specific area |
| Door label and tires | Label values plus all four tire sizes | Shows whether the installed set matches the truck |
| Accessories | Item, mounting point and wiring condition | Supports a realistic payload and repair discussion |
Use the test drive to confirm observations, not invent a diagnosis
With the seller’s permission, start the truck cold and allow the warning lights to complete their normal check. On the road, note steering position on a level straight section, brake feel, vibration by speed, driveline noises during gentle acceleration and whether the transmission behavior changes after warming. If four-wheel drive operation is part of the purchase decision, test it only in the manner and surface described by the owner’s manual.
Return to the same level parking place and repeat the leak, tire and stance observations. A new odor, fresh drip or warning light is a reason to stop and investigate, not a cue to keep driving until the symptom becomes obvious. Compare the notes with the initial walkaround so that the final inspection request is concrete: “inspect the right-rear cab mount and steering pull,” for example, is more useful than “check everything.”
The final decision should combine the written observations, the recall check, the Buyers Guide when applicable and an independent lift inspection. A truck that passes a parking-lot walkaround can still need repairs; a truck with cosmetic age can still be serviceable. The value of this process is that it turns a polished listing into a documented, model-specific question for the technician and seller before money changes hands.